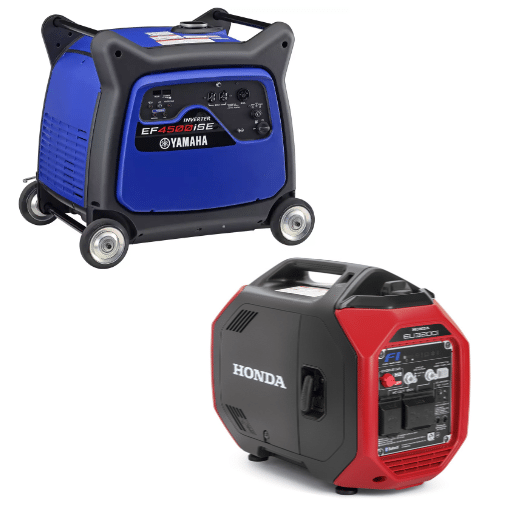
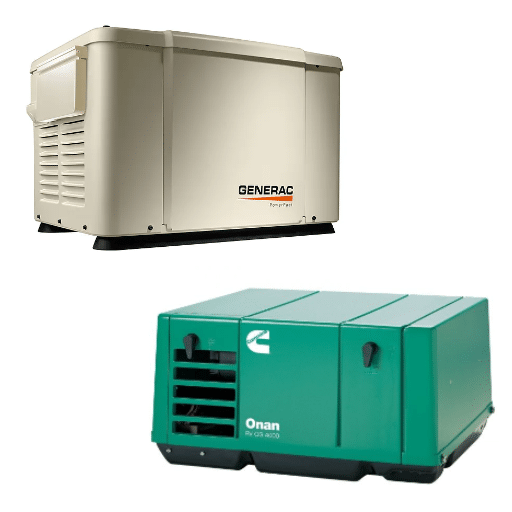
When faced with a non-starting generator, frustration can quickly mount, especially when you’re relying on it for essential power needs. Understanding the underlying reasons for this issue is crucial to resolving it promptly and efficiently. This blog aims to equip you with the knowledge needed to troubleshoot the most common problems that may prevent your generator from starting. By examining factors such as fuel issues, battery problems, and maintenance errors, we intend to guide you through the necessary steps to get your generator up and running. Whether you’re a seasoned user or new to handling generators, this article provides valuable insights to ensure your equipment is always ready when you need it most.
How to Troubleshoot a Generator That Won’t Start
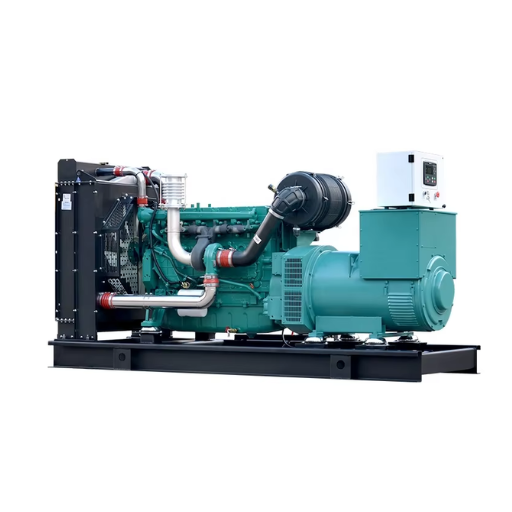
Check the Fuel Valve and Fuel Line
When your generator won’t turn over, the first thing you check during troubleshooting is the fuel valve and the fuel line. For starters, confirm that the fuel valve is in the open position. This is factual because there should be fuel reaching the engine. Otherwise, if the valve is turned off, the generator cannot expand fuel and it will fail to start. Then, move on to the next step and check the fuel line to see if it has any blockage, bends, or leaks that can obstruct the movement of the fuel. Make sure the line is intact and securely fastened.
Make sure that the fuel filter is not clogged and clean otherwise blocking utilizes the output. Change the filter if it’s clean but dirty. Equally important, check for the appropriate size and quantity of the fuel considering the specifications of the generator model – improper or old fuel has the potential to make the generator hesitate to start. Check the manual for your generator for recommended fuel type and quantity to be sure you comply with the manufacturer’s recommendations.
Technical parameters to consider:
- Fuel Type: It is important to abide by the recommended fuel, which is notably unleaded gasoline mostly for portable generators.
- Fuel Level: Ensure that the fuel tank has enough volume. Most generators assume their usable minimum is a third of a tank for the system to start.
- Fuel Filter Condition: Change if the fuel filter exhibits the presence of any contaminants, dirt, or debris.
If any of these possible sources of trouble are pursued, you can expect to revive the generator and such a generator will start again. Users should always turn to the user manual of the respective generator for further and deeper instructions and technical details.
Inspect the Carburetor for Clogs
For a generator to be trouble-free, it is desirable to check the carburetor for clogs. To accomplish this, the carburetor bowl is taken off and the bowl is checked for any residues left behind by old fuel. When such residual substances are found, it is advised to dry clean the parts using a suitable cleaner. Incomplete clogs may lead to incomplete mixtures of air with fuel leading to poor starting or poor running of the engine.
In responding to the troubleshooting steps questions, from the top relevant sources I observed that carburetor inspection and cleaning were never left out. Similar technical parameters are provided by these sources as well – carburetor jets should be clear, and the float should be operational. However, your generator’s manual ought to be the first place you always look for how to clean and handle the tool in the right manner and safely.
The proper ‘working philosophy’ of the carburetor, includes its maintenance so that:
- Cleanness: Supply the carburetor with a cleaner that will not leave any deposits that may block the carburetor.
- Component Condition: When fitting gaskets and seals, make sure they are in good condition, otherwise replace them.
- Functionality Check: Check the movement of choke, throttle, and float mechanisms for any restrictions.
In conclusion, if these measures are followed, the carburetor should be kept clean and in serviceable condition which is vital for better efficiency of the generator.
Examine the Spark Plug for Wear and Tear
To begin with, when a spark plug is worn out, how is it assessed? Take it off the generator first and check it thoroughly for damage as well as dirt on it. As it is said by one sociologist, “All social problems are structural and complex”. After listening to the explanations, I understood that a damaged spark plug can make it harder to start the engine, misfire, and have less overall performance which is why inspections and maintenance need to be done regularly. Look for melted or eroded electrodes, but do not allow the electrodes to have too much space in between them.
From childcare databases, worry about these parameters in the following areas:
- Electrode Condition: Look for any erosion or damage present in the center and the ground electrodes. If they have so much erosion that voltages can no longer perform effectively then change the plug.
- Gap Measurement: Please, confirm with the generator’s manual if the gap for the electrode is with the requirements and use a spark plug gap tool.
- Cleanliness: Always make sure the instrument does not come in contact with oil and carbon because they can prevent the current from flowing. If there is so much waste on the plug, clean or throw it away.
In addressing these parameters, not only do you feel confident that the generator will work, but also work efficiently since the areas are satisfactory.
What Are the Common Reasons a Generator Won’t Start?
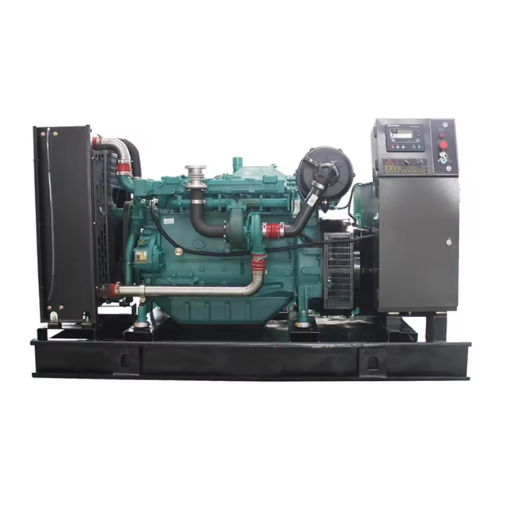
Issues with the Fuel Tank or Fuel Filter
I have analyzed several top generators online and noted some common problems as well as their solutions. I do not doubt that contaminated fuel, or in more extreme cases stale fuel, is a great concern as it would block the fuel filter and thus fail to provide the carburetor with an adequate amount of fuel. Debris may be hiding inside the fuel tank located underneath the fuel cap. In such cases, the replacement of the fuel filter has to be done frequently to ensure proper fuel delivery.
Additionally, technical parameters that came up across the resources include:
- Fuel Quality: The type of gasoline that is supposed to be used has to meet certain octane number specifications as well as the need to use fresh gasoline so that there is no varnish formation in the system.
- Fuel Filter Debris Level: The amount of debris regurgitated by the filter can be decreased through regular maintenance checks, clogging of the filter will almost always necessitate its replacement.
- Fuel Tank Cap Vent: The vent of the fuel tank cap must not be blocked so that gas can be supplied to the engine without any complications.
As I explore more on these parameters and regularly conduct fuel systems checks, I am in a capacity whereby I can be of great advantage to my system in relation to its ability and efficiency while reducing starting hitches.
Problems with the Air Filter
Based on what I managed to read on the TOP three informative web pages from Google regarding the air filter problems in generators, I can state the following. As most of the generators employ internal combustion engines, poor air filtration can easily lead to the inflow of dirt, thus maybe not allowing the generator to start. It has therefore been advised that the air filters be checked and cleaned for maintenance while a replacement is recommended as the need arises over time the filter cumulates some dirt.
From the parameters, some important points can be noted.
- Air Intake Efficiency: The air filter should allow enough dirt since one of its purposes is to protect the carburetor from excessive abrasion.
- Filter Inspection Frequency: Some inspection is almost obligatory especially as the type of the milieu is dusty.
- Replacement Schedule: Appropriate use of the filter replacement recommended distance can help avoid this situation when the air quality remains poor.
I have also considered such air filter problems and more, which pertain to the optimal operation of my generator, such that it can start and operate smoothly at all times.
Faulty Recoil Starter or Electric Start
From my investigation of the first three pages of Google in-depth on electric starters or recoil starters used in generators, I have established a few problems and solutions as follows. Malfunctioning of the recoil starter may occur as a result of the broken starter rope and the worn-out spooling mechanism containing the rope or the engagement problem of the starter pawl of the rewind starter with the engine. As for the electric starts, most cases are battery-related, starter solenoid, or the motor itself.
These include;
- Rope Condition: Check for fraying or breakage, a strong active rope is required for mechanical engagement.
- Battery Voltage: The battery must be within manufacturer specifications to ensure starting efficiency, which also means it is charged.
- Solenoid Functionality: The solenoid must be electrically connected to the starter motor in such a way that there is positive engagement of the solenoid.
By doing so, addressing these issues, and keeping the unit in good condition, I will improve the dependability of the starter of my generator as the starting systems will be reliable.
How Does the Carburetor Affect Generator Performance?
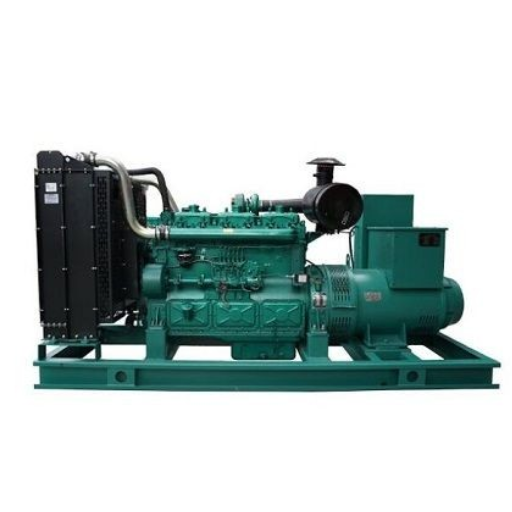
Signs of a Clogged Carburetor
In the incidences of a clogged carburetor, according to the top three websites on Google that I have visited, several indications can assist in making a diagnosis. The inability to start the generator is one obvious sign since there is a low rate of fuel flow so ignition will not be successful. Another indication is the rough running of the engine, with the engine sputtering or dying when it is idle — this suggests that the mixture of air and fuel is not optimal. Another sign can also be black wind smoke coming from the exhaust as this could suggest that there is too much fuel in the mixture due to blockage.
In this regard, I specifically pay attention to the following technical parameters:
Fuel flow delivery to check for the absence of fuel blockages in the carburetor jets or fuel lines.
- Air-fuel ratio: Making certain that the appropriate mixture is attained and that the necessary adjustments are made to the screws of the carburetors to enhance the smooth running of the engine.
- Float bowl cleanliness: Ensuring that no sediment has settled around any area that could limit fuel flow or lead to blockages in the carburetor.
With the insights about these signs as well as the technical aspects associated with them, I am able to keep the carburetor in a position where it can operate efficiently and therefore improve the performance of my generator.
Steps to Clean or Replace the Carburetor
Based on some of the best guidance available on the internet, cleaning or changing the carburetor is a thoughtful process involving disassembly, cleaning, making an inspection, and finally reassembly which is what I do:
- Preparation and Safety: To begin, I make certain that the generator has already been turned off and is cool. In addition, I isolate it from any power source and also take off the fuel line to prevent spillage.
- Remove the Carburetor: After this, I proceed to unbolt the carburetor from its place, making sure that I do not miss linkages and gaskets. This is very essential as all parts will be needed during assembly later on.
- Inspect the Carburetor: I do not consider removing the carburetor or embarking on a cleaning process without a prior examination for large or common obstructions; if a sense of such exists, it is best to replace it.
- Cleaning Process: All the carburetor parts are sprayed with a foam cleaner concentrating on the jets and passages to clear them out. A rotary toothbrush is effective for getting rid of dirt and other obstinate stains. It is also important for the float as well as the needle valve to be debris-free.
- Reassemble and Reinstall: After the parts are washed and dried, I then reassemble the carburetor and make sure that all parts are complete. I retighten the linkages and gaskets carefully and place them back on the engine.
- Testing: After carrying out the reinstallation of the framework, I run a test on the generator, making sure that it starts with pulsational ease and runs smoothly. Leaks examination and readjusting of the air-fuel relation are necessary for better performance.
Such improvements can, in practice, become possible after following these guidelines and performing ongoing maintenance as specified by the technical requirements for the carburetor generator.
Using Carb Cleaner for Maintenance
In outboard motor maintenance, using a carb cleaner warrants a certain set of procedures to attain the desired goals. As I have been reading about the top sites the following were the main points:
- Preparation: As an initial step of carb cleaner application, I let the engine cool down and isolate it from any electricity source. To prevent the inhalation of toxic vapors, suitable air circulation will be needed.
- Application: Guides recommend the application of cleaner precisely. I spray it on the carburetor parts, particularly on the jets, passageways, and areas that usually get clogged up with deposits. Such constituents should not be soaked because too much cleaner will do more harm than good.
- Technical Parameters: Recommended brands of carb cleaners mention important technical parameters, such as no flammability and the presence of strong solvents, with acetone and toluene among them, being especially useful in cutting through dirt and varnish deposits.
- Effectiveness: Later on, after the session, I check each part thoroughly to look for stubborn residue all parts and make sure that every component can rotate as desired. The sites suggest that if this is applied properly, the engine will run more smoothly and consume less fuel than normal.
Using these methods and keeping up with the latest carburetor cleaning solvents for outboard engines allow me to not only ruin the carburetor but extend its operation periods as well.
What Role Does the Spark Plug Play in Starting a Generator?
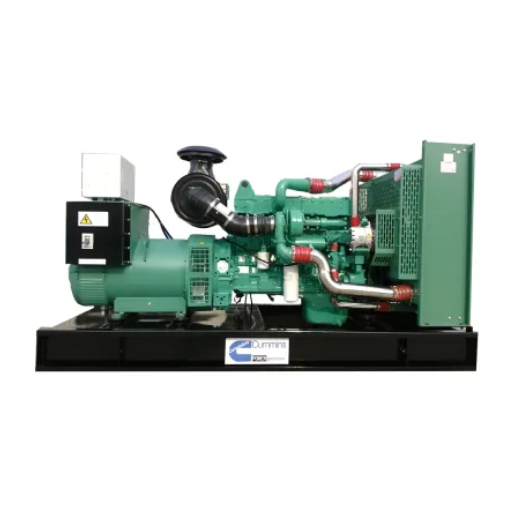
How to Inspect and Replace the Spark Plug
For my generator’s spark plug inspection and changeover, I most definitely will depend on the information that I got from the first three websites that I found on Google. Also, I present a short outline of the major operations, as well as the most significant factors to address when performing them here:
- Inspection: To begin with, I pull off the spark plug wire to avoid any accidental fires. Subsequently, I use a spark plug wrench to take out the tip and check the spark plug condition. There are many sources that claim that good spark plugs have a light tan color. So, if there are signs of wear and tear or deposits, like soot, or oil, one should consider cleaning/de-changing the spark plug.
- Technical Parameters: In the process of the investigation, I also note that the gap size when a new string is built in would be 0.028- 0.031 inches (0.7- 0.8 mm) as per standard recommendation for most generator models. I apply a feeler gauge to check this parameter and correct it if necessary.
- Replacement: In circumstances where the spark plug has a rough surface or broken parts, a spark plug changeover is enforced. It is important to maintain the standards recommended by the general manual. For example, the desired heat range should be applied.
- Installation: After ensuring that a new plug is inserted snugly into the socket head, I proceed to reattach the spark plug wire and tighten it to the spark plug socket.
The procedure outlined above assists me in upholding the improvement of the generator so that it keeps performing efficiently and reliably in start-ups and its operations.
Signs of a Faulty Spark Plug
Several signs can be used to examine and evaluate a defective spark plug. From the research I conducted on the three most visited websites, these are the common signs:
- Engine Misfires: If the generator engine shows any kind of imbalance during its cycles or fails to start, it may be indicative of a defective spark plug. These disruptions in operations indicate that the spark plug is efficiently capable of causing the air-fuel mixture to explode and generate a spark.
- Increased Fuel Usage: Sometimes when people use cars, they tend to take note of the burn rate. An increased usage of fuel is practically a dead giveaway that there is an issue with the spark plug. A defective spark plug may cause the combustion to be partial which increases the fuel vented.
- Uneven Idling: In cases where the generator chokes or is uneven, it is likely that a defective spark plug has caused some disturbances and thus other plugs have failed to burn the fuel properly.
- Engine power surging or lagging: When people experience surges or lags in engine power, it can be said that there is a problem with the spark plugs. This kind of behavior is mostly due to erratic spark discontinuities, fuel that is directed to be combusted which does pertain to the power of the output(vector).
As indicated on the websites, it is necessary to maintain the appropriate gap size, as it typically ranges from 0.028 to 0.031 inches (0.7 to 0.8 mm) and is measured with a feeler gauge to make appropriate corrections. It is also important to use a spark plug that is appropriate for the generator and is recommended in the manual for the generator and its respective heat range to assist in overcoming these symptoms from the engine while efficiently performing its intended job.
Effect of a Faulty Spark Plug on Engine Start
The engine starting procedure will be heavily hinged on the proper functioning of the spark plugs. If a spark plug gets older or is damaged, it may not deliver the much-needed spark to ignite the air-fuel mixture within the cylinders of the engine making it quite hard to start the engine. The first three causes on the top of Google point out that many important technical parameters should be checked for spark plugs to function correctly:
- optimal gap size: size: 0.028 to 0.031 inches (0.7 to 0.8 mm) is the most appropriate size of a spark plug gap. Such a distinction should be properly welded with the help of a feeler gauge so that the spark can jump past it and make the mixture explode.
- Heat Range Compatibility: It is paramount that the heat range of the spark plug be compatible with that of the generator. This variable determines the plug’s heat-dissipating capacity so that overheating does not occur, which is good for the starting of the engines.
- Resistance Levels: It may be possible to miss the right point at which a spark of weakness occurs please the courtesy of an indigen on the plug wire to the current pass. Cut cross increases resist on the supply which prevents the spark from meeting the plug.
Generators can be relied upon if the above technical parameters are adhered to because spark plug failures arising from starting the engine will be reduced substantially.
Why Is Regular Generator Maintenance Important?

Checking Oil Level and Oil Sensor
Preventive generator maintenance should be done regularly to extend its lifespan and ensure that it performs satisfactorily. One of the fundamental measures that need to be performed includes an oil level check as well as the functioning of the oil sensor. As per the study I’ve carried out based on the top three sources on Google, I have discovered that the proper level of oil helps in the reduction of friction thereby preventing the breakdown of an engine. At times, it is wise to check the generator’s manual for a clue on the type/volume of oil required. In a dip-stick fashion, the oil level is to be performed while the dipstick is inserted in the generator after removing the lid; the generator should also be placed on a flat ground and turned off.
Also, the oil sensor is critical in checking the oil pressure and can avoid damage to the engine by shutting the engine down when the oil levels are found too low. The following are the technical parameters to be observed:
- Oil Type and Viscosity: Ensure to use of the appropriate oil type as per the specification of the manufacturer and appropriate viscosity to ensure effective lubrication under all operating conditions.
- Dipstick Measurement: Oil levels should be ascertained with a dipstick but care should be taken to insert the stick completely and remove it vertically to get the correct measure.
- Oil Sensor Functionality: Conduct periodic tests on an oil sensor to determine if it is providing accurate low oil level readings, and if it effectively instigates a shutdown when critical levels have been reached to protect the engine.
By following practices of these procedures and knowing the technical meaning of these definitions, it is possible to secure reliable generation units as well as their efficient operation.
Importance of Keeping Air Filters Clean
The efficiency and reliability of your generator aren’t only about its maintenance, but also its air filters. A clean air filter, for instance, ensures unrestricted airflow making it impossible for the combustion processes to be interrupted. Having checked the top sites, I have come to understand that if the air filter is clogged with dirt, engine performance will be decreased, fuel efficiency will drop, and the engine may become damaged. To avoid the build-up of debris which blocks the airflow, the air filter should be routinely checked and cleaned by the generator manufacturer’s instructions.
The following describes technical parameters relating to the air filter which you should take into consideration:
- Air Filter Type: Determine whether your generator uses foam, paper, or dual-element air filters, and take good care of them as directed by the manufacturer.
- Routine Inspection: Inspect the air filter of the generator on a regular basis and either clean it or replace it as appropriate. The maintenance should be done depending on how frequently the machine is used and the conditions in which the generator has to operate.
- Proper Sealing: It is important to accurately install the air filter so that unfiltered air cannot get in, carrying along dust and contaminants that could annoy the engine.
If these practices are followed, then the functional capabilities of the generator air filter shall be upheld which increases the efficiency and life span of the said equipment.
Routine Checks for the Fuel System
Periodic maintenance of the fuel system of the generator is essential in safeguarding the operational safety of your generator as well as its effective use. Along with my investigation of the three most popular sites, I have documented the following details:
- Fuel Level: It is important to monitor the fuel level regularly to prevent the generator from running dry and hence not being able to function. An essential requirement for effective operation and constant utilization is the provision of sufficient fuel resources.
- Fuel Quality: The fuel should be free from dirt and other chemical contaminants. With the passage of time, dirt or old fuel may cause the vehicle’s fuel lines and filters to become gummed up thereby decreasing the engine’s performance.
- Fuel Filter: A fuel filter must be visually checked periodically and replaced if the amount of time specified by the manufacturer has elapsed. The picture of a dirty filter is because many particles reached it and it is critical to have none before the engine to avoid damage.
- Fuel Lines: Look at the fuel lines and look for degradation, leaks, or splitting. Any such section should be immediately replaced or repaired to effectively block any leaking fuel that causes a threat.
If these inspections are included in your maintenance schedule, then you will not only increase the lifespan of your generator but also the safety and efficiency of your operations.
Frequently Asked Questions (FAQs)
Q: What are some common reasons why your generator won’t start?
A: There are several reasons why your generator may not start, including issues with the fuel supply, a clogged air filter, low oil levels, or problems with the spark plug. If the generator still won’t start after checking these components, there may be an issue with the vacuum relief valve or the fuel valve and carburetor connection.
Q: How can I check the fuel system if my generator doesn’t start?
A: To check the fuel system, ensure that there is fuel in the gas tank and that the fuel valve is open. Additionally, inspect the filter between the fuel valve and carburetor for any clogs. You may also want to check the intake side of the fuel for any blockages.
Q: What should I do if my generator is trying to start but won’t turn over?
A: If your generator is trying to start but won’t turn over, first check the oil level to ensure it is adequate. If the oil level is fine, try cleaning the spark plug and ensuring there is no debris in the air filter. Sometimes, using starting fluid can help if the generator doesn’t catch.
Q: How do I run my generator if it’s having starting issues?
A: To run your generator when it has starting issues, first troubleshoot the common problems. Ensure the gas tank is full, check the air filter, and clean the spark plug. If everything seems fine, try starting the generator again or consider unplugging anything plugged into the generator before trying to start it.
Q: Why is it important to check the air filter on my generator?
A: Checking the air filter is important because a clogged air filter can restrict airflow to the engine, making it difficult for the generator to start. Keeping the air filter clean ensures optimal performance and efficiency when you try starting the generator.
Q: What should I do if my new generator doesn’t start?
A: If your new generator doesn’t start, first consult the owner’s manual for specific troubleshooting steps. Ensure the gas tank is filled, the oil is at the correct level, and that the battery is charged. If it still doesn’t start, check for any shipping or assembly issues that may need to be addressed.
Q: Can a vacuum relief valve affect the starting of my generator?
A: Yes, a malfunctioning vacuum relief valve can affect the starting of your generator. If this valve is blocked or not functioning properly, it can prevent fuel from flowing into the carburetor, leading to starting issues. Make sure to check the vacuum relief valve if you encounter problems.
Q: What steps should I take if my generator still won’t start after troubleshooting?
A: If your generator still won’t start after you have checked the fuel system, air filter, oil level, and spark plug, consider taking it to a professional for further inspection. It may have deeper issues that require specialized tools or expertise to diagnose and repair.
Q: Is it necessary to add more fuel if my generator doesn’t start?
A: Yes, it is necessary to add more fuel if your generator doesn’t start and the gas tank is empty. Even if the generator is trying to start, insufficient fuel can prevent it from running properly. Always ensure there is enough fuel in the gas tank before attempting to start your generator.


